Thursday, 9 May 2013

Date 2 with Jamie...he asked me out again!

Back in the good old days of university, I ended up rooming with a very good friend of mine in the greatest apartment ever!  I know you probably think I'm exaggerating, but this apartment rocked.  Old school wood floors, five rooms, full kitchen, full living room, a ghost (no joke)...I even decorated my entire room with glow in the dark stars (probably should have warned the guy who moved in after me about those). 
 
Anyways, my good friend and I made many a meal together in that kitchen.  Some turned out great...others not so hot.  My favourite would have to be the time we tried making spanish rice.  Her new boyfriend was coming over for dinner for the first time, so we decided to go all out.  We followed the recipe verbatim: put the rice, chicken broth, raw bacon, minced onion and all sorts of bits and pieces into a pyrex casserole dish.  The recipe told us to put it on the stove, bring it to a boil, and then put it into the oven.  So, we did as they asked.  As we pop it on the oven and start up the gas burners (that's right...it's a gas stove), my friend says "won't glass break in hot heat?"  My response?  "Pyrex doesn't break.  It's built not to break."  My friend is still concerned, so our third roommate chimes in saying at most it would bend, it definitely wouldn't break.  The sentence is barely out of her mouth as we hear what sounds like a gun shot...our casserole dish had shattered and all of the liquidy contents had fallen down into the abyss of our stove top!  I started laughing so hard I was crying, my friend was mortified so much that she was actually crying...it was priceless! 
 
Fast forward to my birthday last year and this good friend gave me Jamie Oliver's Jamie at Home cookbook, with a very kind note saying that she loved our time cooking together and then she had tagged some recipes she thought would be nice to try together.  Which brings us to our night with Jamie! 
 
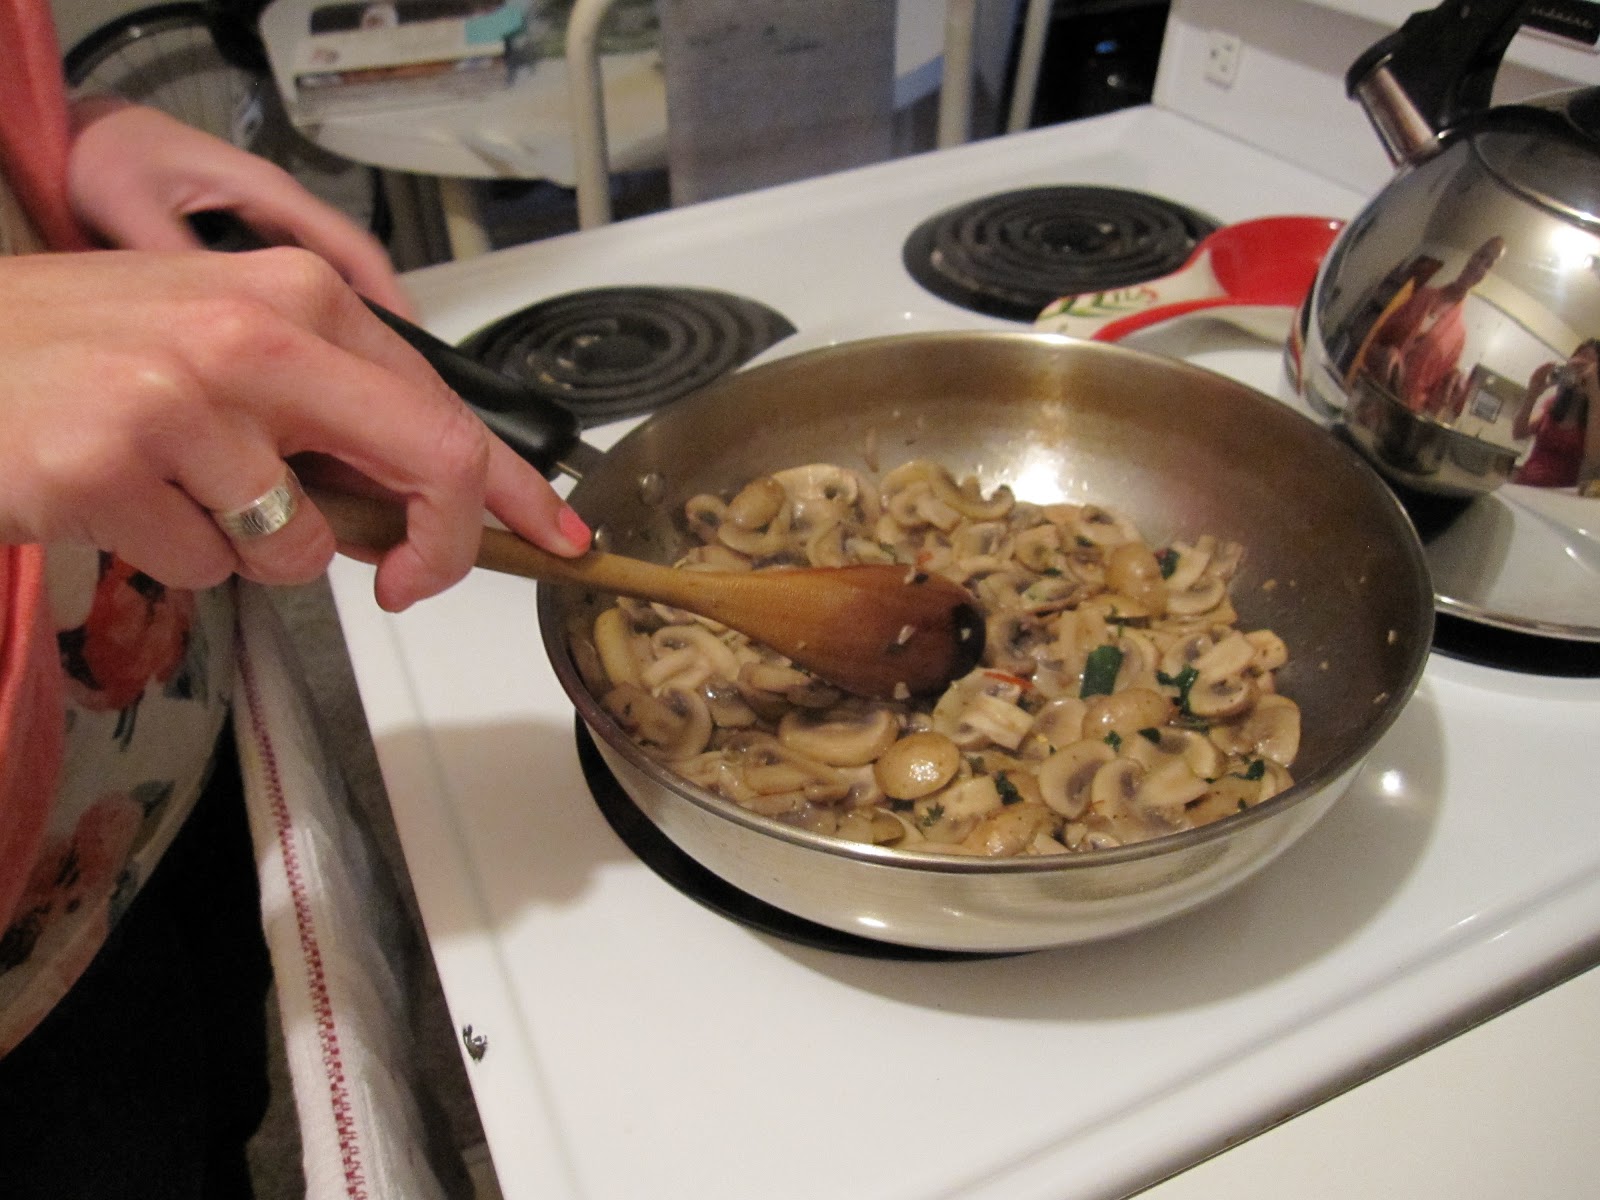
 To Start - Ultimate Mushroom Bruschetta

For those of you with Jamie at Home, you'll find this keeper on page 291.  For those of you who don't, I've included my version below:

Ingredients
  • olive oil
  • 300g mushrooms (wiped clean and sliced)
  • 2 cloves of garlic - 1 minced and 1 halved lengthwise
  • A small handful of thyme, leaves picked off
  • A small handful of parsley leaves
  • Salt
  • Pepper
  • 1/2 of a dried chili, crumbled
  • a pat of butter
  • 1 lemon
  • 4 slices of sourdough bread
Heat your olive oil in a large frying pan on the stove over medium heat.  There should be enough olive oil to easily cover the bottom of the pan.  Add the mushrooms and stir to mix.  Add the chopped garlic, herbs, pinch of salt, couple grinds of pepper and the dried chili and stir.  Cook until the mushrooms get a little bronzed, then add the butter, the juice of 1/2 the lemon and stir.  Toast your bread, then rub it with the halved garlic clove.  Place the mushrooms on top of the bread and dig in!  (Serves 2)

Looking good!

Such yummy goodness!  I wish I could have some more right now.
 
Main - Smoked beets with grilled steak and a cottage cheese dressing
 
This combination was amazing!  However, I'd also split them up and mix them in with other meals as well.  I wasn't so sure about the cottage cheese dressing but it was unbelievable!  I loved it so much that I ended up slathering everything in it, just to get more of it.  For those of you with Jamie at Home, you'll find this recipe on page 109.  I've also included my version below for your viewing pleasure.
 
Ingredients
  • 8 small beets, tops trimmed and peeled
  • small handful of rosemary, leaves picked
  • 1 tbsp red wine vinegar
  • extra virgin olive oil
  • salt and pepper
  • small handful of Italian parsley leaves, chopped
  • small handful of basil leaves, chopped
  • 2 steaks, size of your liking
  • 4 heaping tablespoons of cottage cheese
  • 1 lemon, halved
  • a few sprigs of thyme, leaves removed
Cut the beets up, sprinkle with the rosemary and a couple drizzles of olive oil.  Place them into tinfoil BBQ boats and pop on the BBQ.  Note, they'll probably take 30-40 minutes to cook, so start these puppies early!
 
 
Next, make the dressing.  Put the cottage cheese, lemon juice, finely grated lemon rind, couple glugs of olive oil, thyme leaves, salt and pepper in a bowl and gently combine.  Taste test to see if your taste buds are satisfied and, if not, add a little more of whatever they want!

Now, Jamie suggested rubbing a bit of this dressing onto our steaks.  We did as requested and it wasn't bad, but I found that the steaks stuck to the grill and it didn't add much flavour.  Next time I'd probably season them normally with a bit of salt, pepper and Mrs. Dash, and save the dressing for eating time.

Once the beets are cooked, put them into a bowl and add the red wine vinegar, a small glub of olive oil, salt, pepper and half the parsley and tarragon.  Mix gently to combine, taste test and adjust the ingredients as desired.

To serve, place the beets on a plate, place the steak on top, add a solid dollop of the cottage cheese dressing on top of that and then sprinkle with the remaining herbs.  (Serves 2)
Heavenly! 

 
For Dessert: professionally-made chocolates from Cocoa Nymph, and my own Cocoa Nymph creations
 
I know, I couldn't tell the difference either.  Nice and simple end to a scrumptious meal.

But serious props go to our friend that kept our taste buds happy while we were creating.  Johnny Q was very tasty and went very nicely with all of our creations.


Wednesday, 8 May 2013

PazzaRella

For those of you looking for a new food truck to try out this week, I highly recommend PazzaRella.  And by highly recommend, I mean get your butt down there! 

If you didn't guess based on the name, PazzaRella makes wood-fired, thin crust, 10" personal pizzas that leave you wanting more even when your belly is full.  Fresh simple ingredients, a couple of ladies who know their way around making a pizza, and a custom truck complete with a mini-wood fire stove are the perfect recipe for a pizza that rivals the pizza I had in Naples.  My long-legged, fellow food lover who joined me on this adventure said that he thought the pizza was just as good, if not better than, Nicli's but for half the price.  I haven't had the pleasure of going to Nicli's yet, but my food adventure buddy knows his stuff when it comes to food, so I definitely take his word for it!

Things to note: (1) Cash only, (2) Pazzarella is located at Victory Square near Pender and Hamilton, (3) There are plenty of benches to sit on and the park is pretty and relaxing during the day time, and (4) It's a good bang for your buck.  The portion is solid.  If you're famished it might not be quite enough, but if you have a normal appetite and are just a normal hungry, it should be perfect.

Enjoy!

Where the magic happens.

The menu.

The wood fire oven!  I was blown away by the fact that they had this right in the truck.  Unreal!

Our pizzas getting some personal attention.

My long-legged friend's Diavolo: tomato sauce, fresh mozzarella, hot italian salami, organic basil, extra virgin olive and sliced garlic.  ($9)  My long-legged friend thoroughly enjoyed this pizza and, since we tradesied a piece for a piece, I can vouch that it was amazing!

My prosciutto: tomato sauce, fresh mozzarella, prosciutto, organic baby arugula, extra virgin olive oil.  ($9)  Did I mention that they literally drizzled the olive oil on top of the pizza at the very end?  Heaven on earth!  I can't bring myself to pick a favourite, so you'll just have to go with a friend and partake in tradesies yourself.

View during lunch.  Not too shabby!

Twitter: @PazzaRellaPizza

Tuesday, 7 May 2013

Cinco de Mayo

With the fabulous weather we've been having, I couldn't resist cooking up a feast in celebration of Cinco de Mayo for some of my favourite dinner guests.  It was a bit of a mish mash of my own creations and recipes from various cookbooks, but everyone seemed to enjoy it and it made for one heck of a fun evening.  I've included the recipes below for your tastebuds' pleasure.  Enjoy!
 
To Start - Chips and Homemade Salsa
  • Tortilla chips care of Tostitos (restaurant style).  Oh how I love their salty goodness!
  • Sour cream...absolute necessity
  • Homemade salsa
I completely made up the salsa recipe and I wasn't sure if it was going to be a hit or a flop, but luckily it was a hit!  I added all of the following to a bowl and mixed gently to let the flavours combine:
  • 5 roma tomatoes, diced small
  • 2 cloves of garlic, crushed
  • 1/4 of a jalapeno, minced (seeds removed)
  • 2 thin slices of red onion, minced
  • splash of olive oil
  • 1 handful of cilantro leaves, chopped
  • couple grinds of pepper
  • couple dashes of salt
  • juice from half a lime
Just what the doctor ordered!
 
Main - Pescado Blanco Fish Tacos with Corn and Black Bean Salad

I loved the plethora of colours on the table and couldn't resist taking a photo as I was prepping everything.

Corn and Black Bean Salad from Food to Live By.
 
I love this recipe and love this cookbook!  The recipes are homey, healthy and easy to make.  I'd definitely recommend picking up a copy if you don't have it already.  If you do have it, you'll find this recipe on page 237.  If you don't, I've included my version of it below:
 
Ingredients
  • 1 can black beans, drained and rinsed well
  • corn kernels from one cob of corn, uncooked
  • 2-3 roma tomatoes, diced relatively small
  • 1/2 large red onion, diced small
  • handful of parsley leaves, chopped
  • 2 cloves of garlic, minced
  • 2 tbsp white wine vinegar
  • 1 solid glug of olive oil
  • 3-4 good dashes of chili powder
  • 1-2 dashes of cumin
  • couple dashes of salt
  • 3-4 grinds of black pepper
Add all of the solid ingredients, excluding the garlic, in a bowl and mix gently.  Whisk all of the remaining ingredients together, pour over the salad and mix gently to coat.  Fabulous for picnics or BBQs.


Up next: Pescado Blanco Fish Tacos found on page 108 of the oh so fabulous Whitewater Cooks with Friends.  I've also included my version below, for your entertainment.  If you're a fan of fish tacos, I'd definitely recommend adding this version to your repertoire!

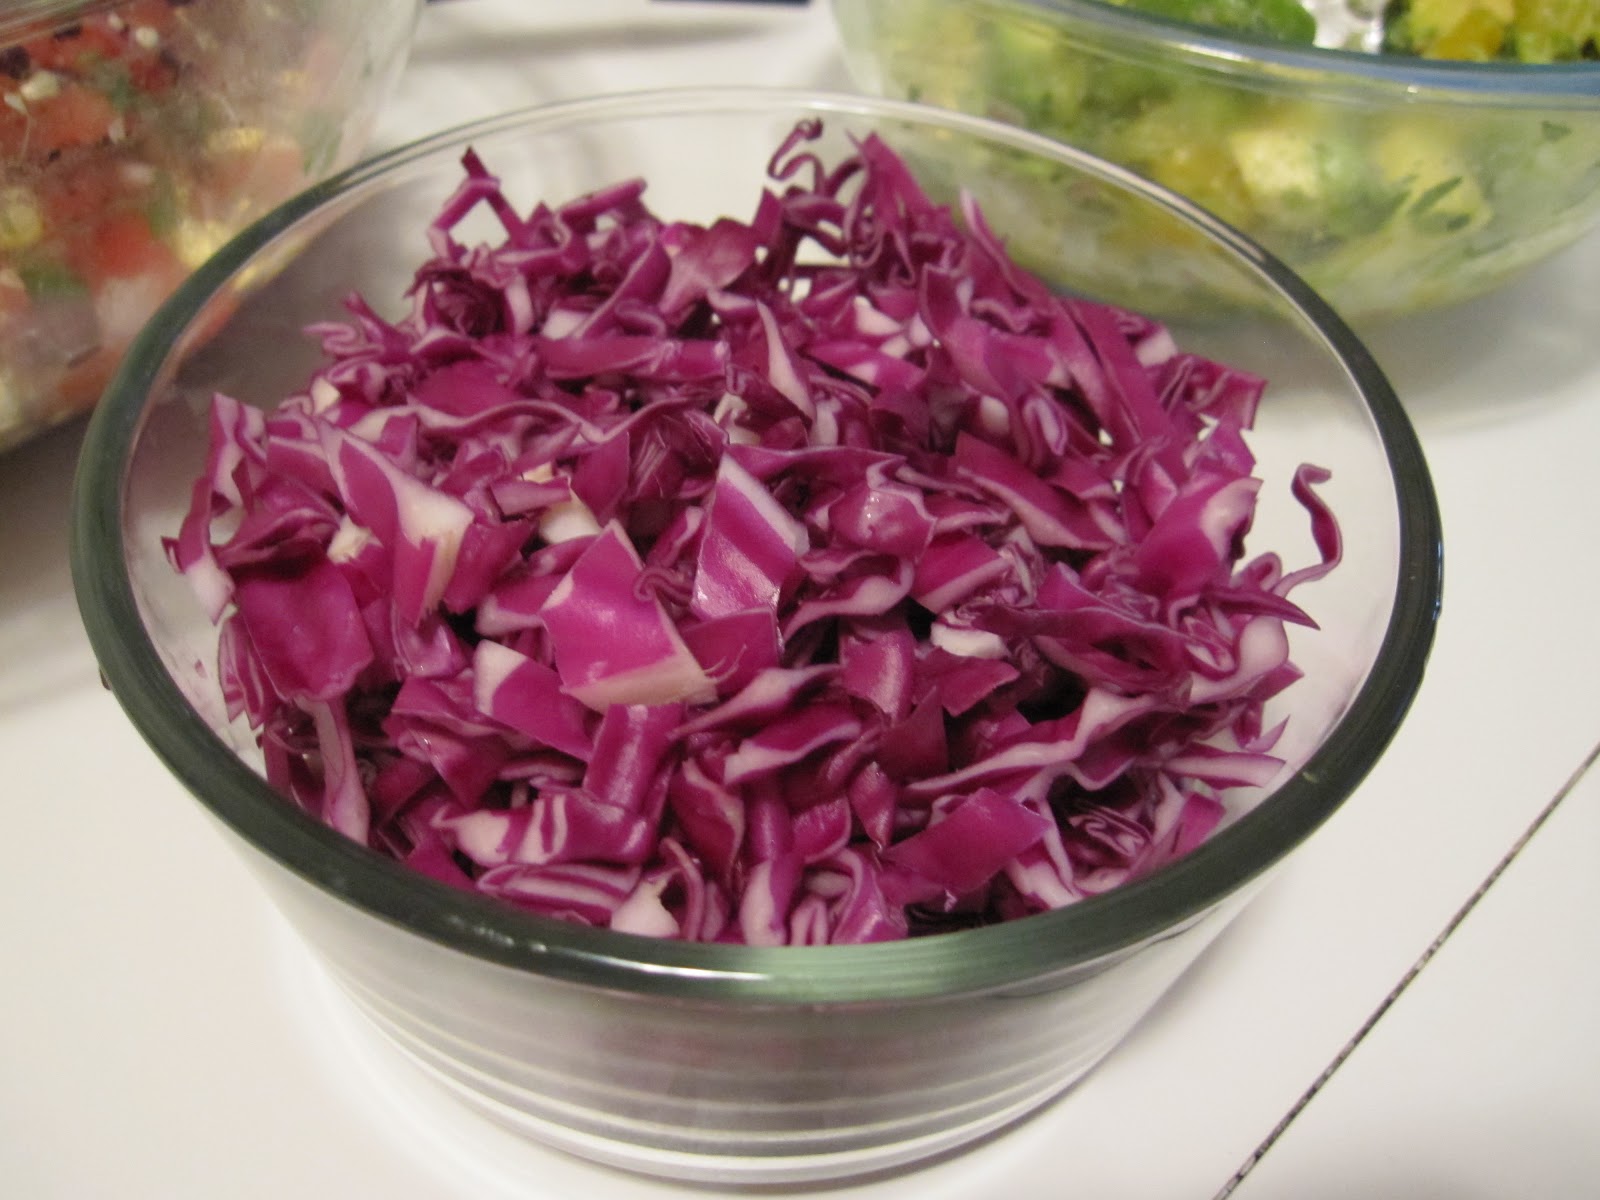
Topping #1 - 1/4 of a head of red cabbage, sliced thin.

Topping #2 - the most delicious citrusy guacamole ever!  This tasted great on the fish tacos, but I also plan on putting it out instead of plain guacamole in the future.
 
Ingredients
  • 3 oranges, peeled and diced 
  • 2 avocadoes, diced relatively small
  • 1 solid handful of cilantro leaves, chopped
  • 1/2 jalapeno, minced
  • 2-3 slices of red onion, minced
  • couple dashes of salt
Add all of the ingredients to a bowl and mix gently.

Cinco de Mayo dinner!  To complete the pescado blanco fish tacos, cut 1.5 pounds of red snapper (or any solid white fish) into small strips.  Heat olive oil in a pan, then add the fish and cook approximately 5-6 minutes until done.  To assemble the tacos place red cabbage on a warm tortilla, top with fish, citrusy guacamole and a smidge of sour cream.  Delicious...if I do say so myself!
 
The portions above make enough for approximately 12 tacos (6 people).
 
Note: in the official recipe they suggest placing the corn tortillas into tinfoil and then warming them in the oven for 15 minutes.  My apartment was scorching, so I didn't feel this was necessary.  I learned the hard way that cold corn tortillas disintegrate but warm tortillas stay true to form!  However, I quickly discovered that if you pop them in the microwave (uncovered) for 30-40 seconds it works just as well.
 
Dessert!  Snickerdoodle care of my fabulous dinner guests.  Greatest name ever for a cookie!
 
But the best part of dinner?  My favourite dinner guest EVER!!!  This handsome fellow will always have a big part of my heart...partially due to his boyish good looks, but mainly due to the fact that he is absolutely hilarious!  You may noticed that the photos are blurry...this is partially due to the fact that he never sits still (no wonder toddlers need naps!) and partially due to the fact that I was generally laughing so hard at him that I couldn't keep my hands still!  Happy Cinco de Mayo everyone!


Monday, 6 May 2013

Sunshine and snacks...

This past weekend I was heading down to the beach to enjoy the sunshine with my food-adventure partner in crime this weekend when she suggested grabbing a snack from Viva Foods on Yew.  Great idea!  They have sandwiches, quiches, yummy pastries, muffins, cookies...you name it, they have it.  The best part?  Everything is made fresh in house.  I went for the Healthy Scone full of cranberries, flax seeds and other yummy goodies...delicious!  Next time I think I'm going to go for the Corn Flakes Square, though.  It's like a Rice Krispies square but with Corn Flakes instead...very intriguing.

Definitely a great place to grab a snack on your way to the beach!

Pastries and yummy goodness galore!

The X that marks the spot.

Friday, 3 May 2013

Power Cookies

Cycling season has officially begun, so you know what that means...power cookies!!!  I hadn't eaten a power cookie until last year and I fell in love with them.  They're super easy to make, easy to carry with you, provide you with natural energy and curbs your hunger when you need it, and they taste like cookies!  You seriously can't go wrong.

My favourite recipe comes from Fitness Junkie's blog and I've included the link to the original recipe below.  My version of the recipe is as follows:

Ingredients
  • 3 tbsp flax seed
  • 3/4 cup almond milk
  • 2 cups old fashioned oats
  • 1/4 cup sunflower seeds (I probably use between 1/4 cup and 1/2 cup for the 1/4 cup ingredients)
  • 1/4 cup chopped almonds
  • 1/4 cup chocolate chips
  • 1/2 cup dried cranberries
  • 3 tbsp honey
  • 3/4 tsp salt
  • 1/4 tsp vanilla
Preheat the oven to 350F.  Grind the flax seed into a powder using your mortar and pestle.  Add to the milk and set aside.  Mix all of the other ingredients together well.  Add the milk and flax seed liquid and mix well.  Form into 8-12 balls, really packing the ingredients together, and place on a greased or non-stick cookie sheet.  I find I put the balls down and then press them down a bit with a domed hand.  If you try to flatten them completely they'll fall apart.  Bake for 8-12 minutes, remove from oven and cool completely.  Keeps well in the fridge for the short-term, or the freezer for the long-term. 

The mixture ready to be formed into balls.

Pre-oven!
 
Post-oven!

Thursday, 2 May 2013

Street Meet

About a month ago I met up with my regular lovely lady lunching crew at a food court.  As we all sat down with our different food choices, one caught my eye: an amazing seared tuna salad.  Turns out one of my friends had been sneaky and picked hers up at Street Meet (a food truck) on her way to the food court. 

So, when I was lunching with two other lovely ladies, I couldn't resist doing the same thing!  The conclusion?  Very yummy!  Further details included below.


The trucks, the chefs and the pipes...they're so big they deserve their own mention.
 

The menu.  Note: they take VISA and tax is included in the prices.

Seared Tuna Salad: Tarragon crusted albacore tuna, mixed greens, honey dijon vinaigrette,
kalamata olives, cherry tomatoes, egg, new potatoes and pickled green beans.  ($12)  I enjoyed every factor of this salad but was particularly impressed with the tuna portion, the inclusion of kalamata olives, and how yummy the pickled green beans were.  The portion itself was good.  If you have a normal appetite, it would be perfect for lunch.  If you have a ridiculous appetite like mine and had a hard workout in the morning, you may want to see if you can get an extra potato added.

Homemade Veggie Burger: organic quinoa and chickpea patty, portabello mushroom chutney, basil truffle aioli, lettuce, tomato and red onion.  Served with BBQ chips.  ($10)  Word on the street is the burger was very yummy.  I was lucky enough to try a couple of chips and I do believe they may actually be home-made BBQ chips.  The only thing that the lovely lady who enjoyed this meal said, was that she would have enjoyed it more with a bit less salt.  I have to admit, the chips were salty, but I didn't think anymore than the average chip.
 
Twitter: @StreetMeetTruck

Wednesday, 1 May 2013

Chicken Saltimboca and Summertime Pasta

I've been spending so much time with Jamie recently that my Whitewater Cooks cookbooks were starting to get a wee bit jealous.  So, I decided to make it up to Whitewater by making two recipes from Whitewater Cooks at Home the other day.  As always, the recipes were simple and delicious!  I highly recommend the Summertime Pasta recipe...it was out of control!!  I've included my versions of the recipes below, for your viewing pleasure.  For those of you that have this cookbook, you can find the recipes on pages 102 and 122.

Chicken Saltimboca
  • 2 chicken breasts
  • Salt
  • Pepper
  • 4 large sage leaves
  • 4 prosciutto slices
  • Olive oil
  • 1/2 lemon
Pre-heat oven to 350F.  Pour enough olive oil into a pan to just cover the bottom and heat.  Season both sides of the chicken with salt and pepper.  Then place the two sage leaves on top of the chicken breasts and wrap the chicken in the proscuitto slices.  Whitewater suggests 1 slice of prosciutto per chicken but I found it difficult to wrap with just one.  I found the easiest way was to go bottom to top with one slice and top to bottom with the other slice and then skewer a toothpick in on either side.

Add the chicken breasts to the pan and sauté until the prosciutto is browned on either side.  Then pop the entire skillet into the over for 20-25 minutes, or until the chicken is cooked.  Whitewater then suggests taking the pan out and adding enough red wine to the pan to take all the little brown bits off the bottom, then adding the juice of 1/2 lemon and create a bit of a sauce to pour over top of the chicken breasts.  I had added too much olive oil, so there were no brown bits and this wasn't possible.  I simply drizzled a little lemon juice over each chicken breast and I thought it still tasted nice and was more simple.  Serves 2-3.

This was a nice change from my regular chicken cooking method.  I really liked the sage and prosciutto flavours together.

Summertime Pasta with Cherry Tomatoes, Basil and Fresh Parmesan
  • 1/2 cup olive oil
  • 6 good-sized garlic cloves, crushed
  • 1 bunch/basket of cherry tomatoes, cut in half so you can see the seeds (or 2-3 large tomatoes cut into bite-sized pieces)
  • 1/2-1 tsp salt
  • 1 tsp black pepper
  • 1 bunch fresh basil, chopped
Mix all of the ingredients, except for the olive oil and garlic, together in a large bowl.  Heat the olive oil over medium heat and add the garlic.  Stir for about 10 seconds and then add this mixture to the bowl.  Stir, cover and set aside.  This can be done ahead of time in the morning, or right before hand.  The longer you let it sit, the more the flavours meld.  I did mine as I was cooking dinner and I still found the flavours were unbelievable!

Cook enough pasta for 3-4 people.  Add to the bowl, mix and serve.  Sprinkle freshly grated parmesan cheese over top if so desired.  I actually found that I preferred it without the cheese...and I never thought those words would come out of my mouth.

This dish is absolutely amazing!!!  Plus, it was so easy.  This is definitely going to become a staple for me. 

Thanks for another delicious meal Whitewater!

The prosciutto-wrapped chicken sautéing away.

Oh how I love you Summertime Pasta with Cherry Tomatoes, Basil and Fresh Parmesan! 

Dinner!!  I wilted the kale in the same pan that I heated the olive oil and garlic, and added a squeeze of lemon juice.  Delicious!